

Fermenting vegetables — your definitive guide to fermenting vegetables at home using salt and naturally occurring lactic acid bacteria.
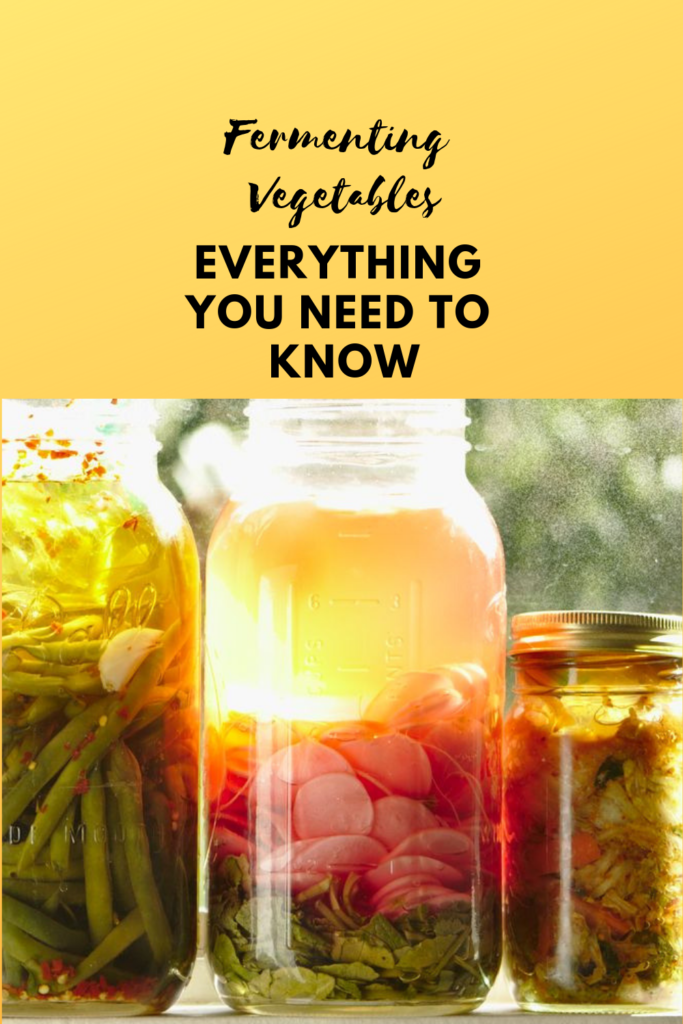
Fermenting vegetables is as much a quest for flavor as it is a strategy to preserve our food. It involves bacteria, water, and salt and there are two basic cures: a salt cure and a brine cure.
To cure, means to pull moisture out of the vegetable. When fermenting, the ideal temperature range is 68° to 78°F (though 72°F is optimal). If you have a warm environment, your food will ferment quickly (more about this later).
Some of the links on this page are affiliate links, which may pay me a small commission for my referral at no extra cost to you!
How does fermenting vegetables work?
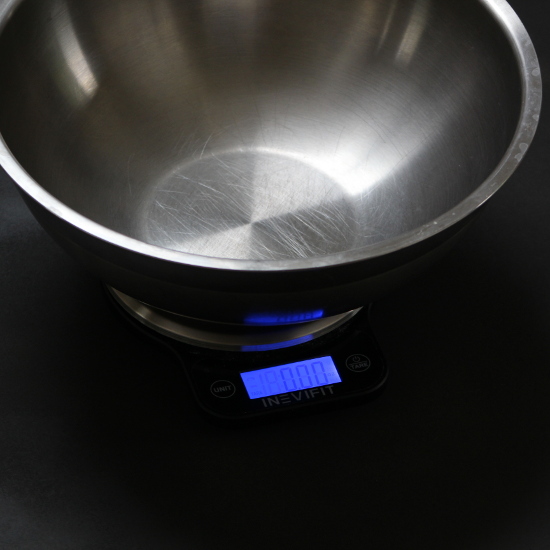
Lacto-fermentations are straightforward and simple to make. The process: weigh your ingredient, add salt by weight, and wait. How many days depends on how sour you want the final product to be.
Sound good? Let’s get started
Pick a vegetable, any vegetable. Depending on your choice, you will want to use the salt crush method or the brine method. Each method involves wild fermentation so you do not need a starter culture.
In order to ferment successfully, you will need an environment that is conducive to the growth of naturally occurring, beneficial microbes and detrimental to harmful ones.
Extending a vegetable’s shelf life for months, and in some cases, years is part of the magic of fermentation. When done properly, it’s safer and more nutritious to eat fermented vegetables than raw.
The Science of Lacto Fermentation
Lactic acid bacteria (LAB) are already on the skins of fruits, vegetables, and humans. In lacto fermentation, we use them for their ability to convert sugar into lactic acid. Why? Because they make things sour and yummy.
LAB flourish in low-pH (acidic) environments. They are also salt-tolerant and thrive in the absence of oxygen.
This is great news! Turns out, when you add salt, a lack of oxygen, and acid to the picture, you deprive malevolent bacteria from surviving.
So now you’ll understand why we pay attention to the amount of salt, tasting for tartness, and creating an anaerobic environment for our little rod- and sphere-shaped friends.
So why ferment vegetables?
As I researched this topic, I payed close attention to the fermented products for sale at the grocery store. Kimchi, sauerkraut, and pickles were available, but they weren’t cheap. Also, they didn’t taste nearly as good as anything I’ve made myself.
Here are some reasons to get into fermentation at home:
- Tradition – our ancestors did it and because of them, we have some of the best products: cheese, beer, wine, chocolate, miso
- FLAVOR! – Little pops of flavor add interest and complexity when used to garnish our meals
- Preserve the Garden – we get to prolong the fresh, ripe vegetables and experience more variety across seasons; buh bye food waste
- Probiotics + Prebiotics: nutrient-dense plants and beneficial bacteria are great for digestion and regulating blood sugar
To get you on your merry fermenting way, I’ll share my tried and true recipes for fermenting radishes, cabbage, beets, cauliflower, and more. Those recipes, plus the basic formulas you need to know to ferment any vegetable are what you are getting today.
QUICKLINKS WITHIN THIS POST
A FEW TERMS TO KNOW BEFORE YOU START
- Lacto-Fermentation: breakdown of food by Lactobacillus, a bacteria that converts naturally occurring sugars into lactic acid. Gives food a sour taste and acts as a natural preservative.
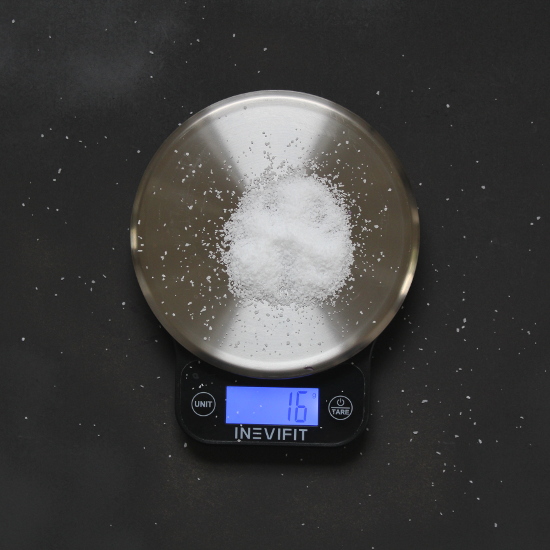
- Fermentation Ratio or Formula: I’ve been fermenting safely for years using a ratio of 1.3% Kosher salt to the weight of the vegetables. However, in The Noma Guide to Fermentation, they use a 2% ratio.
- Kosher Salt: large granule table salt that contains zero additives (i.e. iodine). Great price and quality. Do not substitute sea salt 1:1. Kosher salt weighs less than sea salt, so any measurements (tsp, T) included in a recipe are for Kosher salt.
- Brine: a high concentration of salt in water. By creating an anaerobic environment (reducing oxygen exposure), we prevent mold from growing.
The Fermentation Vessel
Let me reassure you that you don’t need any special equipment to begin safely fermenting vegetables at home. In fact, I mainly use glass mason jars. Here are the vessels that I use throughout this guide (links below).
You need a 1-Gallon container for making kimchi and a 1/2-Gallon container for making sauerkraut.
Glass weights are great to have, but you can rig your own weight by filling a plastic bag with water.
Some people swear by fermentation crocks, but I’ve never used one. I think the main advantage is the super wide mouth for really mashing the kraut down in there.
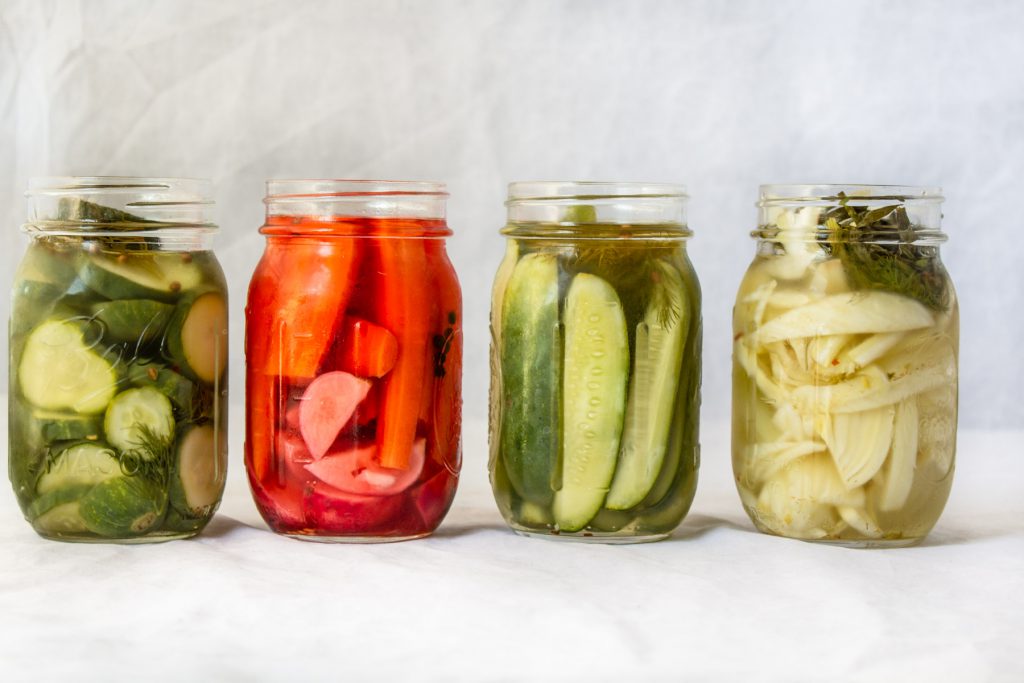
Formulas (How Much Salt to Add)
There are 2 methods for fermenting vegetables (salt crush and salt brine). The salt brine method has a variation – where vinegar is added. See the formulas below.
Salt Crush Method
Crushed Method Recipe: 3 Tablespoons Kosher salt per 5 pounds vegetables

Here is where we mix vegetables that have a high water content with salt in order to extract their own liquid. Cabbage is popular.
examples: kimchi or sauerkraut
Salt Brine Method
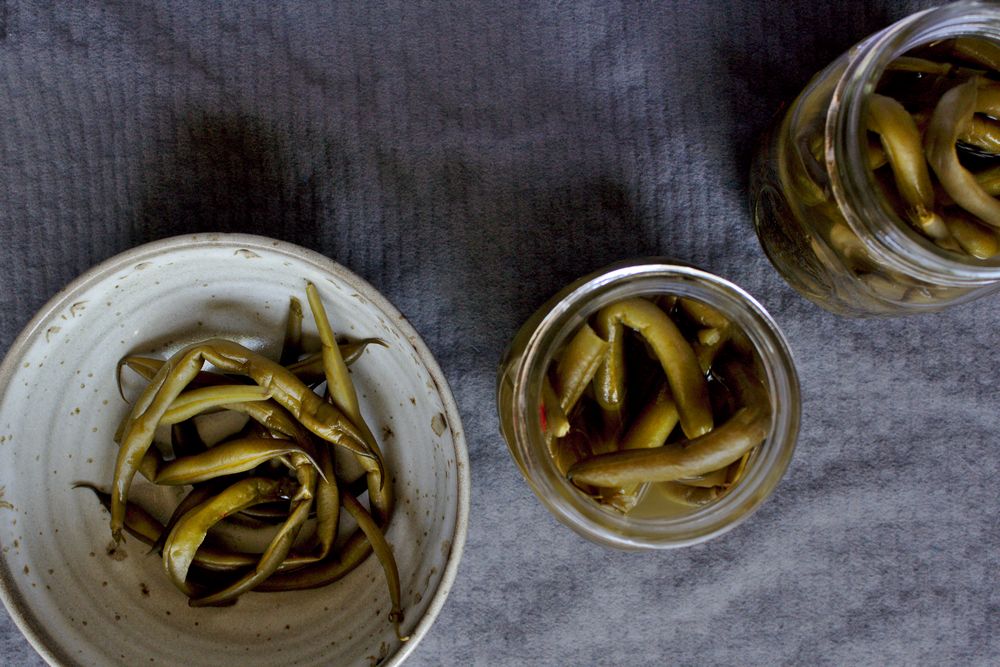
This is where vegetables with a lower water content get covered with salted water. Think carrots, pumpkins, roots, squash, beans, and whole cucumbers.
Salt Brine Recipe: 4 Tablespoons Kosher salt per quart of cold water to submerge the vegetables
Put another way…
How much salt per cup of water for fermenting?
1 Tablespoon per Cup of Water
Why Add Vinegar to the Salt Brine?
Salt & Vinegar Brine Recipe: 3 Tablespoons Kosher salt + 1 1/2 Tablespoons Vinegar per quart of cold water
Vinegar (both fermented and acidic) can be added to salted water in order to aid in the prevention of unwanted bacteria and to embellish the flavor of the vegetables.
You may want to add vinegar if it’s particularly warm (above 72° F). Apple cider vinegar, wine vinegar, or rice vinegar work well. Be aware that if you add vinegar, you will want to reduce the salt in the brine. See the formula above.
How long to ferment vegetables
Factors like heat and the amount of bacteria in an environment affect every batch differently. Keep your fermentation vessel away from direct sunlight and as a rule of thumb check your ferment at 7 days (for temperatures above 72°) or 10 days or longer (for temperatures below 70°).
While there’s no set deadline, you know your fermented vegetables are done when they are no longer overly salty, and you have achieved the sourness level that you like. Transferring the vegetables to the refrigerator will greatly slow down the fermentation process.
Things that can slow down fermentation include anything that removes the bacteria you want to grow. For this reason, always use non-chlorinated water. Sea salt is more expensive than kosher salt and weighs more, but both salts work equally well. Avoid scrubbing your vegetables. You can remove any dirt gently with water.
Crush Method Sauerkraut
Ingredients
- 5 pounds shredded cabbage or high water vegetable
- 3 tbsp kosher salt
- 1 tbsp caraway seeds
- 1 tbsp juniper berries optional
Instructions
Setting up the Fermentation Jar
- Remove the tough outer leaves of the cabbage and cut them into quarters. Set aside. Cut the cabbage down the middle, then quarter. Remove the white core and discard.
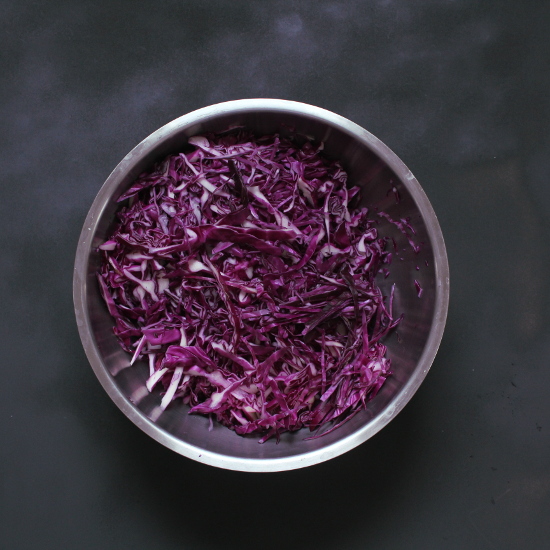
- Shred the cabbage using a mandolin or chop like you would coleslaw. Add the cabbage and Kosher salt to a large bowl with caraway seeds or juniper berries if using.
- Squeeze and toss with your hands. Crush the cabbage and remove the juices. Set aside for 10-15 minutes and squeeze some more. Transfer to a clean glass or heavy plastic container.
- Use your fist or fingers to press the cabbage down firmly. It must be submerged under it’s own liquid (the aneorobic environment). Take the tough outer leaves you cut earlier, and place them over the top of your kraut.
- Weigh the cabbage down with a water-filled plastic bag. Place a clean cloth over the top of the jar and seal with a rubber band.
Time
- Store the jar out of direct sunlight around 72°F for at least 10 days — check often to make sure the kraut remains under the liquid. You may need to adjust the weight because the kraut will shift upward as gas is released.
- After 10 days, taste the kraut for sourness. It’s done when you like the level of sourness and salt. Note that I often allow my kraut to ferment for at least 2 weeks before moving to the refrigerator.
- Once you like the taste, store in the fridge for up to 6 months.
Notes
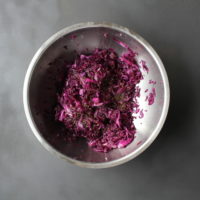
5 pounds red cabbage
2 cups peeled and grated green apple
1 Tablespoon fennel seeds Proceed with recipe above.
Nutrition
Thank you for being here! Did you make this recipe? Click on the star rating or leave a comment below. I’d love to hear how you got on. Connect with me @thefrayedapron on Instagram or Pinterest.
Fermenting Vegetables Recipes

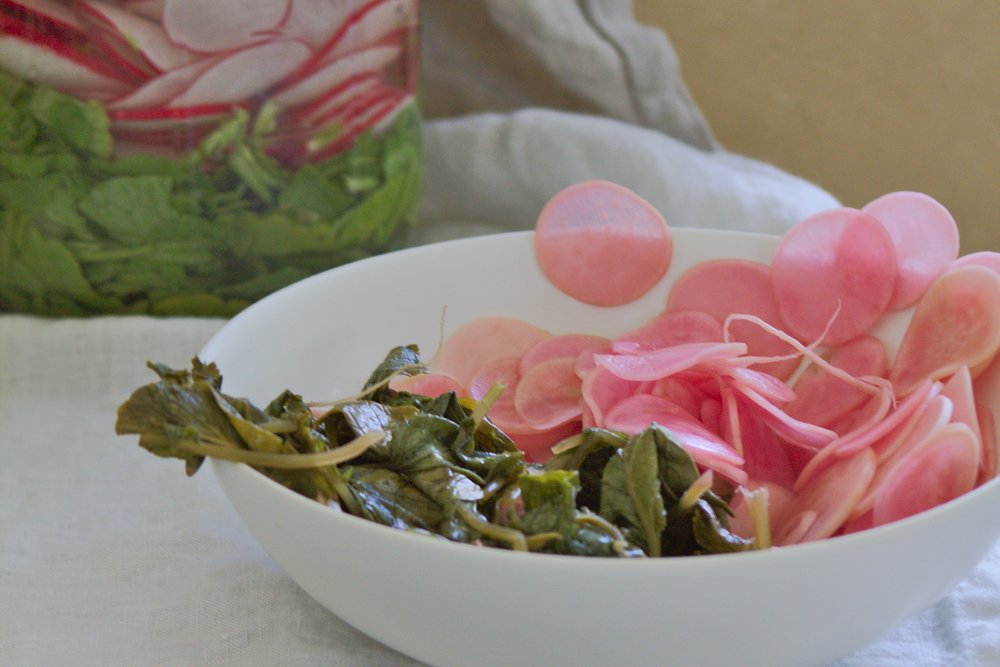
Fermented Pink Radishes With Their Greens
Troubleshooting
When using wild bacteria, each batch of fermented vegetables will turn out differently. If you notice a white, flat substance on the surface, this is yeast which is quite common and nothing to worry about.
If you see fuzzy black, pink, or colored spots on the surface – don’t panic. Once you dispose of this top layer, you may have perfectly good fermented vegetables below the brine. Here are some ways to prevent mold growth in the future.
Does your brine overflow? This can happen during the fermentation process because the gases push the vegetables up. Try removing a small amount of brine, but be careful to leave enough to keep your vegetables submerged. Always leave a gap (about 3-inches) between the mouth of the jar and the top layer of your brine.


This is a great primer – but you don’t tell us about the tube you put on the top of the jar….